Dividing a Hosta in August....
My project for this afternoon was to divide this giant hosta 'Blue Angel’ to fill a hole we have in the back garden. I’ve read that hostas can be divided anytime, but August is not bad since there aren’t many other major projects to do in August, and this will give the divisions time to get well-rooted before they go dormant for winter. The weather up here in New England has been incredibly cold this year, so it feels like a great day to do some heavy lifting. Most hostas bloom in July and August, so wait until the blooms have faded. I deadheaded this one last week, so its ready!

The hole we’re filling is a nice shady spot in the back between our Japanese dogwood (Cornus kousa "Milky Way") and the Bottlebrush Buckeye (Aesculus parviflora) . You can’t see it well in this picture but there is also a Yellow Twig Dogwood (Cornus sericea ‘Cardinal’) back there.

Job one is to prepare the hole that you intend to use:
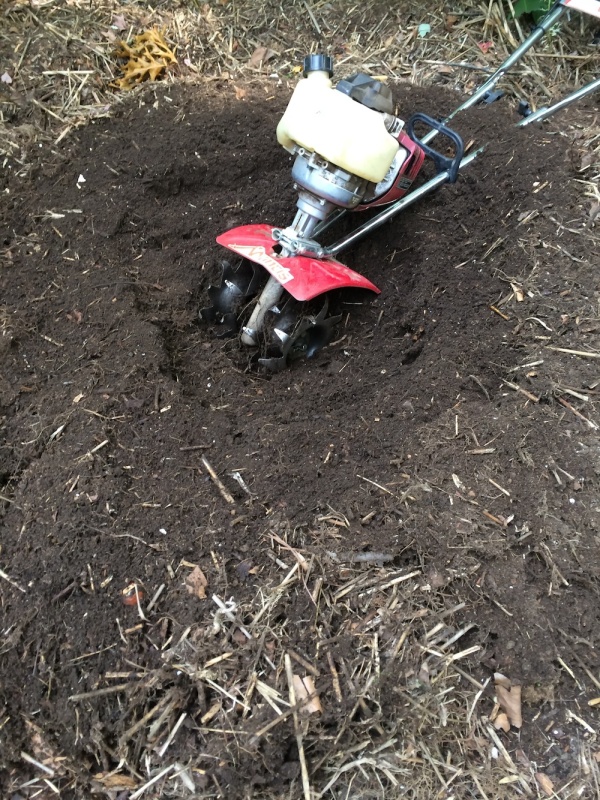
Nice loamy soil here. The Mantis tiller gets a lot of work in this yard… one of the best garden tools I’ve got at my advanced age. I’ve been composting about three year’s worth of garden litter in this spot (contrary to the desires of upper management) so the soil is just right now, and management is happy that something better is going into that place.
(Truth in advertising: I dug the hole AFTER I spit the hosta… the very LAST thing… bad gardener… very bad).
To spit this hosta, I will be following the advice in this article by Perfect Perennials in Peabody, MA (http://perfectperennials.tripod.com/id8.html). They recommend dividing Hostas about the three year point. This one has been in the ground about five now, and it is HUGE. But with luck and with their advice, it will not look like I spit this baby when I’m done!
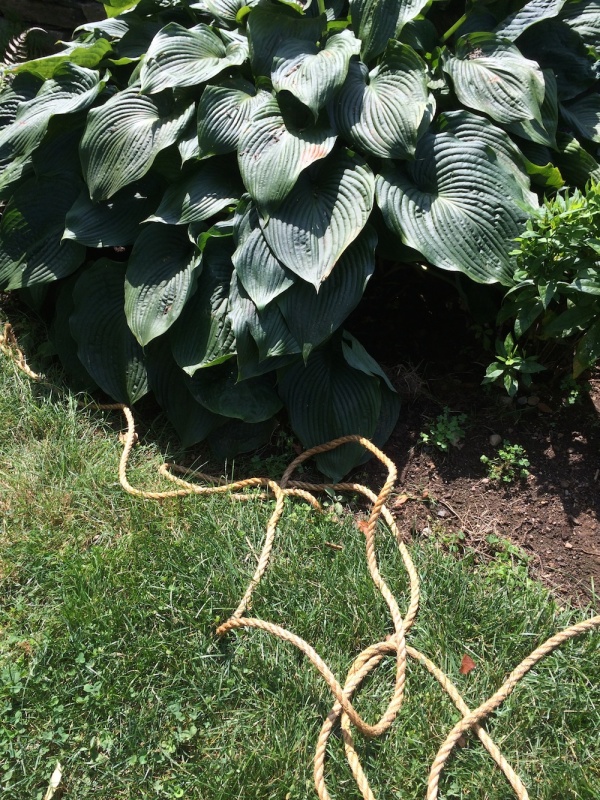
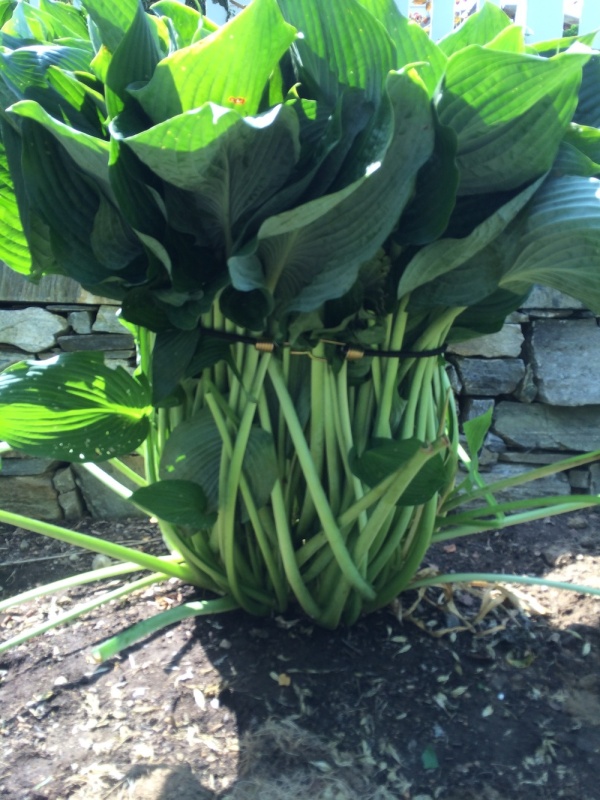
I tied up the leaves of this plant, first with a rope; then with a bungee cord to get them out of the way for excavation. Another reason for this operation is that we have a few garter snakes in the yard, and while they are perfectly harmless, we have both learned that its just a common courtesy not to surprise one another. So, stomping around the plant seemed like a good way to pass the word.
That’ll do!
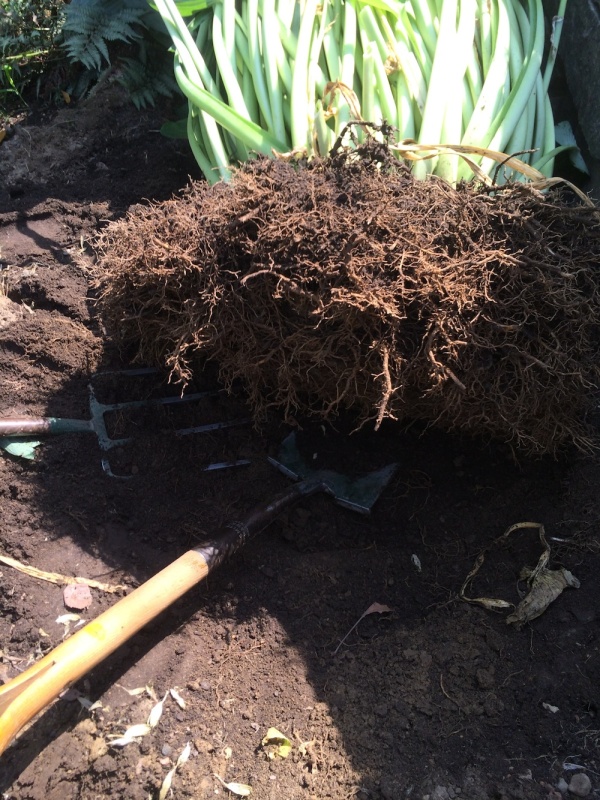
Next, its time to dig around the roots. I started with a fork, then shifted to the shovel.

Just how close to dig is a good question. Generally, these roots seem fairly shallow. I probably dug too close, but its consistent with other Hostas I’ve managed not to kill by this process, so I think it will be OK.
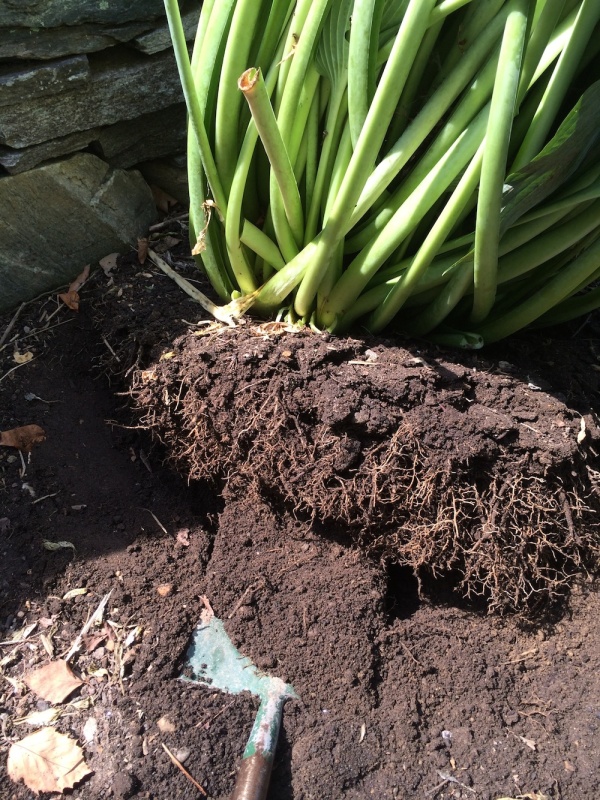
Done! That was hard work...
Next, the part that every inner child loves: making mud pies by washing the dirt off the roots. The aim here is to wash enough so that you can find some natural places to spit the plant.
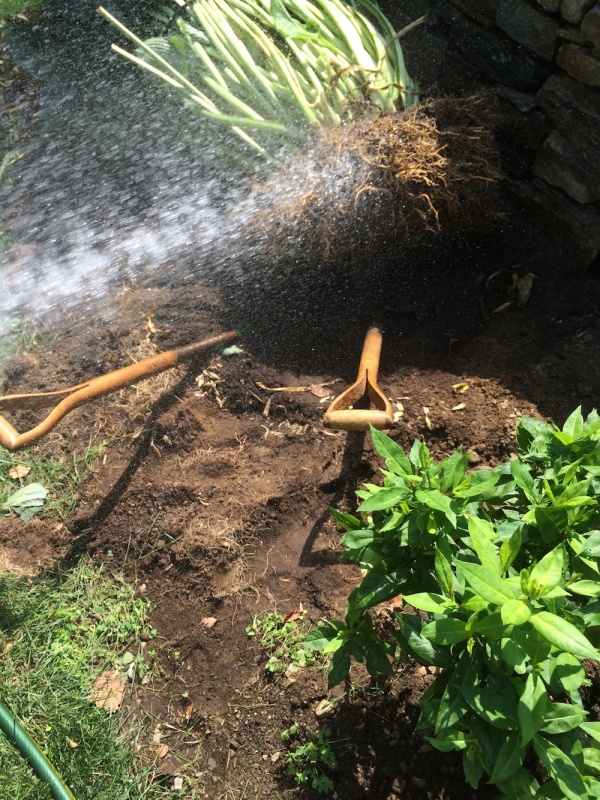
Now this plant could have been spit in to many plants; maybe five or more. But I just need two. Having found a spot that looks like a good candidate, I used the hose, a knife to start separating the roots and crown...
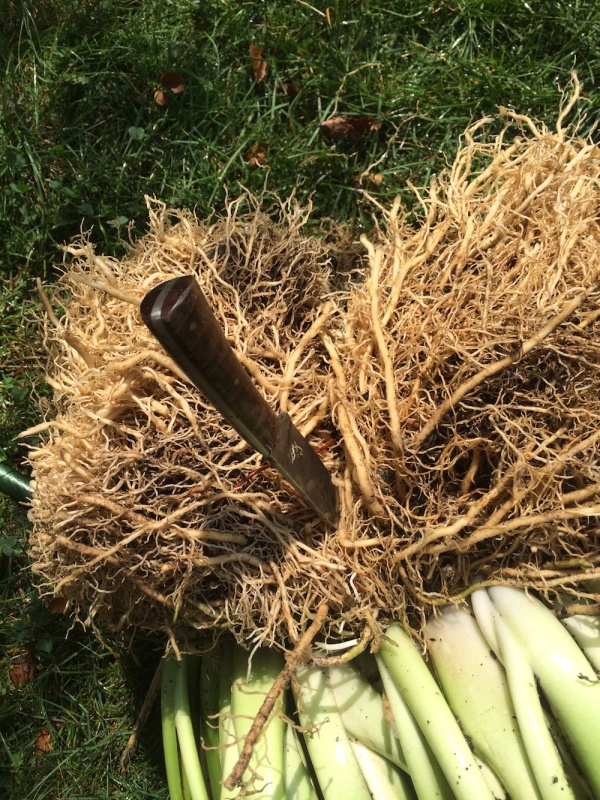
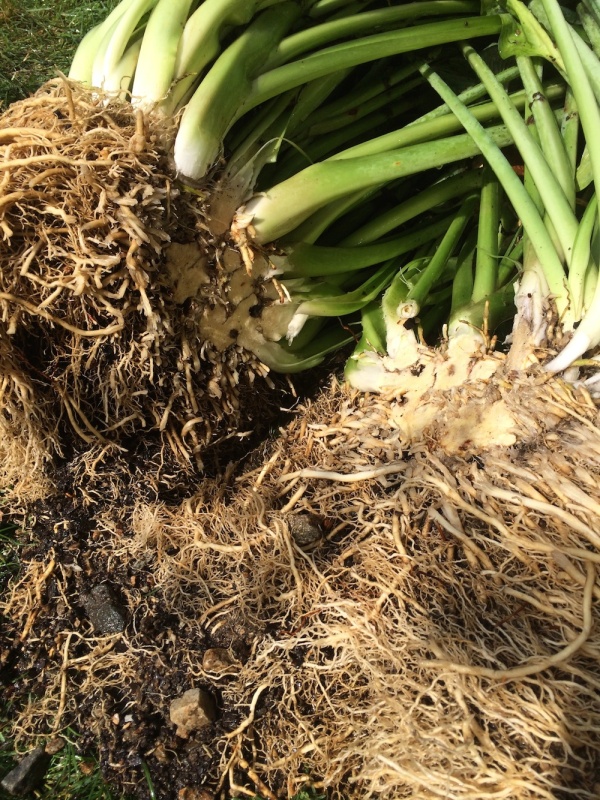
… and finally the spade to break the plant in two.
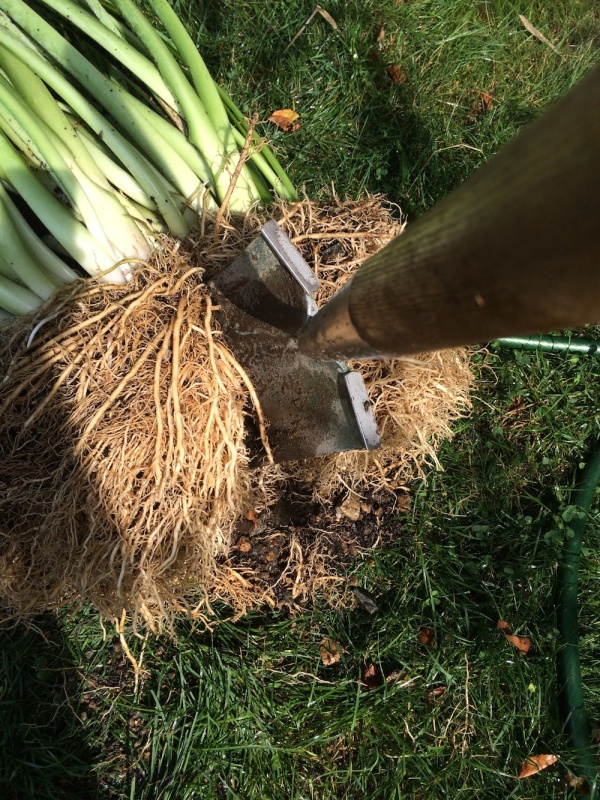
There you are… two plants. You can see the thicker “crown" near the stems and the very extensive root system going out from there. One of the reasons I like Perfect Perennial’s method is that it seems to do the least damage to the root system and leaves. With younger and smaller Hostas, you should not need a knife. Use the hose to tease apart the plant at natural places. This plant was just too large, too intertwined (and I was too impatient) to work it apart like that. You can see in the picture that there might have been some other good dividing candidates if I had wanted more than two plants out the operation.
Twins! Now as a father of twins, I know that these two plants will develop their own “binar" type of twin-speak. Its spooky stuff… strange laughter in the yard at night… swapping spots with one another. Its a real garden discipline problem….
The picture would make you think I had to dig about two feet down to get these roots out, but in truth it was close to 6-8 inches. Hosing the dirt off of them is what gives them this poofy look.

So, plant #1 back in its original hole. I set the leafed out part against the wall to give a little more space to the Japanese Painted Fern (Athyrium nipponicum ‘Pictum’) in front and the Garden Phlox on the other side. That front face will fill out next spring. Lots of fun setting it back in the mud! Now I know what stomping grapes feels like...

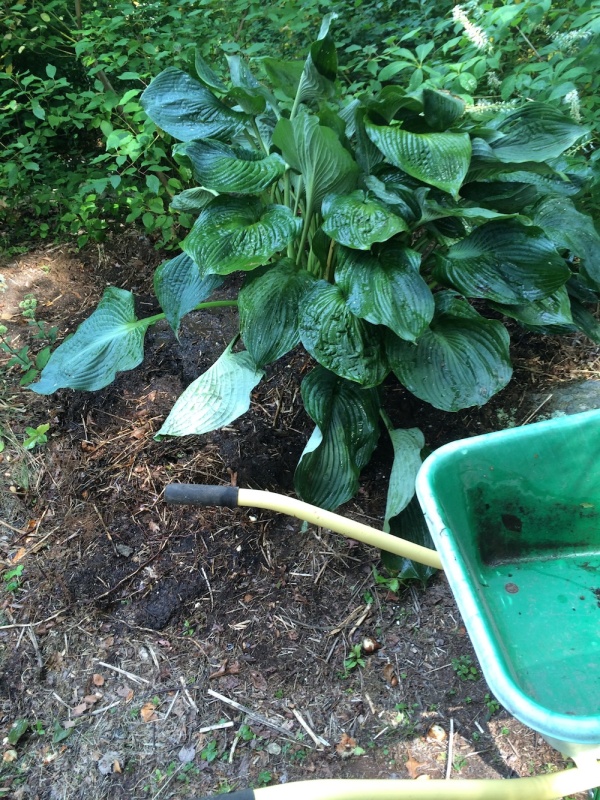
And there’s plant # 2… looking like it belongs there!
Total job start to finish about two hours of fresh air and sunshine! I’ll keep these well watered over the next couple of weeks.